
15 Clever Kitchen Storage Ideas
Every kitchen has the same problem: no matter how many cabinets you install, stuff somehow ends up cluttering the counters. Spices multiply, lids vanish, and that awkward gap between the fridge and the wall sits there mocking you. The secret isn't a bigger kitchen — it's a smarter one. With a few clever tweaks, you can unlock hidden pockets of storage in places you never thought to look: inside cabinet doors, under the sink, along empty wall strips, even in the toe-kick space beneath your cabinets. This guide walks you through 15 genuinely practical kitchen storage ideas that work in real, lived-in kitchens. Most are renter-friendly and budget-friendly, and all of them will make your kitchen feel calmer, roomier, and so much easier to cook in. Whether you're working with a tiny apartment galley or a spacious family kitchen, there's something here for every layout and every budget. Let's dig in.
1. Pull-Out Pantry Shelves
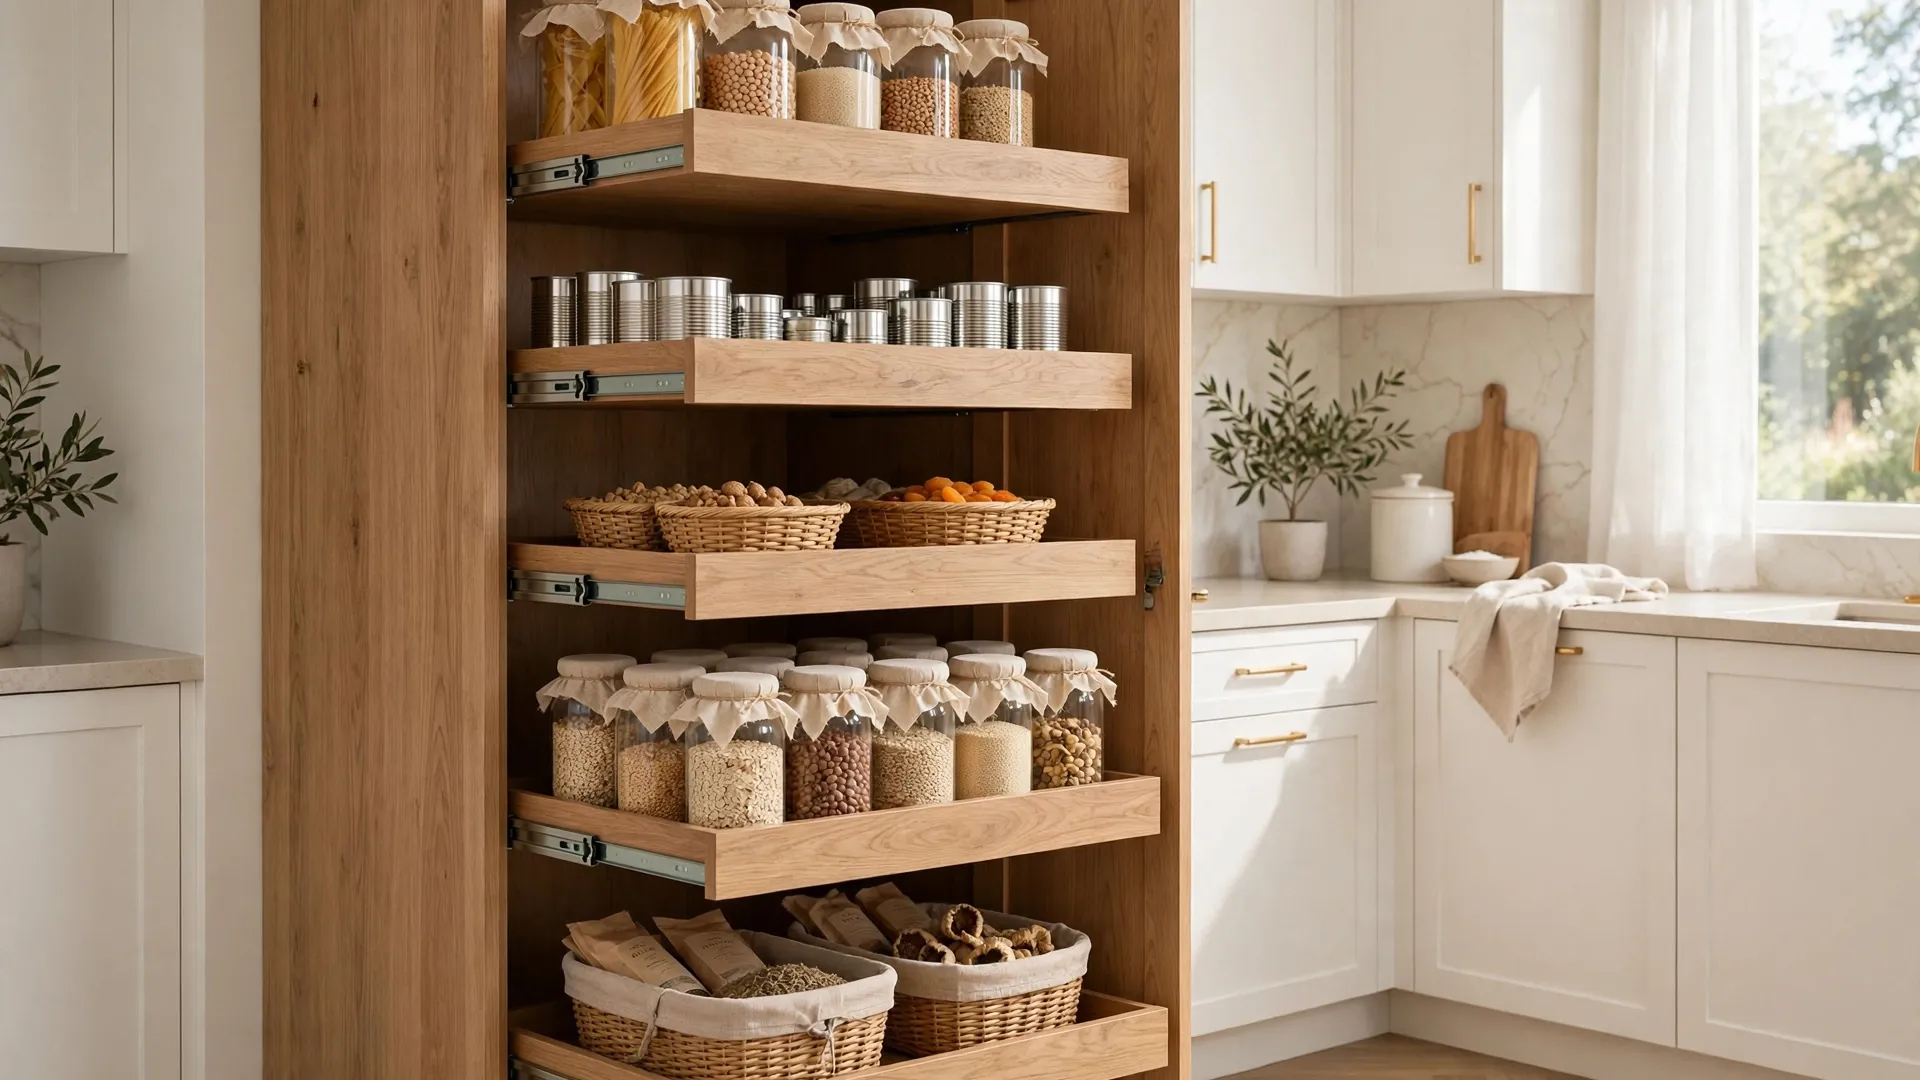
Deep pantry shelves are black holes — items slide to the back and disappear for years. Replace the wasted depth with pull-out shelves or narrow sliding drawers that glide toward you on smooth tracks. Suddenly every jar, can, and box is visible at a glance with zero crouching or digging. Arrange items by category on each tier: breakfast foods up top, dinner ingredients in the middle, snacks and baking supplies below. Add small shelf risers on the upper levels so shorter jars sit raised and readable. Label the front edge of each shelf with simple adhesive labels so the whole household knows exactly where the rice, pasta, and canned tomatoes live. This one upgrade can double the usable capacity of an existing pantry without a single renovation.
2. Under-Sink Sliding Organizers
The cabinet under the sink is prime real estate that usually turns into a tangled swamp of bottles and sponges. A two-tier sliding organizer transforms it: the top tier slides back to clear the plumbing pipes while the bottom tier pulls forward for easy reach. Store dish soap, sponges, and scrub brushes below, and trash bags, gloves, and spare hand soap up top. Choose organizers with raised edges so nothing tips over when you slide them. Stick a small waterproof mat underneath to catch drips and protect the cabinet floor. Because everything glides out to you, there's no more kneeling with a flashlight to find the drain cleaner. This under-sink makeover takes about twenty minutes and instantly makes the busiest cabinet in the kitchen behave.
3. Inside-Cabinet-Door Spice Racks
Spice jars hogging your countertop or crammed in a dark drawer? Mount slim spice racks on the inside of your cabinet doors to reclaim that space. Measure your door's flat interior panel first — most standard doors fit racks that hold a dozen or more jars. Arrange spices alphabetically or by how often you cook with them, and decant them into uniform small jars with neat handwritten labels for a boutique-pantry look. This trick works especially well on the doors near the stove, turning dead space into a grab-and-go cooking station. It's fully reversible too: most racks attach with adhesive strips or tiny screws, making it a perfect small upgrade for renters who want a tidier, prettier kitchen. Group your most-used cooking blends — taco seasoning, Italian herbs, curry powder — on the middle rows so they're always at eye level when you reach for them.
4. Vertical Tray Dividers
Baking sheets, cutting boards, and muffin tins are the bane of kitchen cabinets — they slide around, clatter, and wedge themselves sideways. Install vertical dividers in one lower cabinet or pull-out slot so every tray stands upright like books on a shelf. Tension-style dividers slot right in with no tools, while a simple wooden or metal insert gives a more permanent feel. Sort by type: sheet pans together, cutting boards together, cooling racks at the end. Keeping them vertical means you can grab one without avalanching the whole stack, and it stops the warped pans from jamming the cabinet door. It is a small change with an outsized daily payoff, especially during busy baking seasons. Store pot lids the same way in a second slot, sliding them between dividers instead of stacking, which keeps them scratch-free and easy to grab.

5. Corner Cabinet Carousel
Corner cabinets are notoriously hard to use — deep, dark, and nearly unreachable. A two-tier rotating carousel (the classic lazy Susan) turns that dead corner into genuinely useful storage. Place everyday cooking oils, vinegars, and frequently used sauces on the top tier, and heavier backup items like canned goods or bulky spice refills below. Look for carousels with a raised lip or non-slip surface so bottles stay put when it spins. Wipe the tiers clean every few months since spills love to hide in corners. Once installed, what used to be the most frustrating cabinet in your kitchen becomes one of the most satisfying, with everything spinning smoothly into reach. Measure your corner cabinet's opening before buying, and choose a carousel with adjustable height so the tiers clear your stored items as they rotate.
6. Toe-Kick Drawers
Look down at the recessed strip beneath your lower cabinets — that toe-kick space is hollow, and it is storage gold. Shallow toe-kick drawers glide out from that gap and are perfect for flat, rarely needed items: baking sheets, serving platters, placemats, seasonal tablecloths, or the good silverware. Because the drawers sit low and hidden, they vanish completely when closed, keeping your kitchen's clean lines intact. Installation involves cutting the toe-kick panel and fitting a drawer box, so it is a weekend DIY or a quick job for a handy friend. It feels almost like discovering a secret compartment, and guests are always delighted when you show them. Line the drawer bottoms with non-slip liner so platters and placemats stay put when the drawer glides open and closed.
7. Magnetic Knife Strip
A bulky knife block eats counter space and dulls blades in its slots. Mount a magnetic knife strip on the wall or the side of an upper cabinet to store knives safely in the air. The strong magnetic bar holds blades firmly by their sides, keeps edges sharp longer, and displays your tools like functional art. Mount it at a comfortable height beside your main prep area, keeping handles down and within easy reach while staying out of children's grasp. Wipe blades dry before hanging them to protect the magnets and your knives. Bonus use: the same strip can hold small metal spice tins, freeing even more drawer and counter space. Mount the strip at shoulder height beside your main prep zone so you can grab a knife without crossing the kitchen, and always slide blades off sideways rather than pulling straight out.
8. Ceiling-Mounted Pot Rack
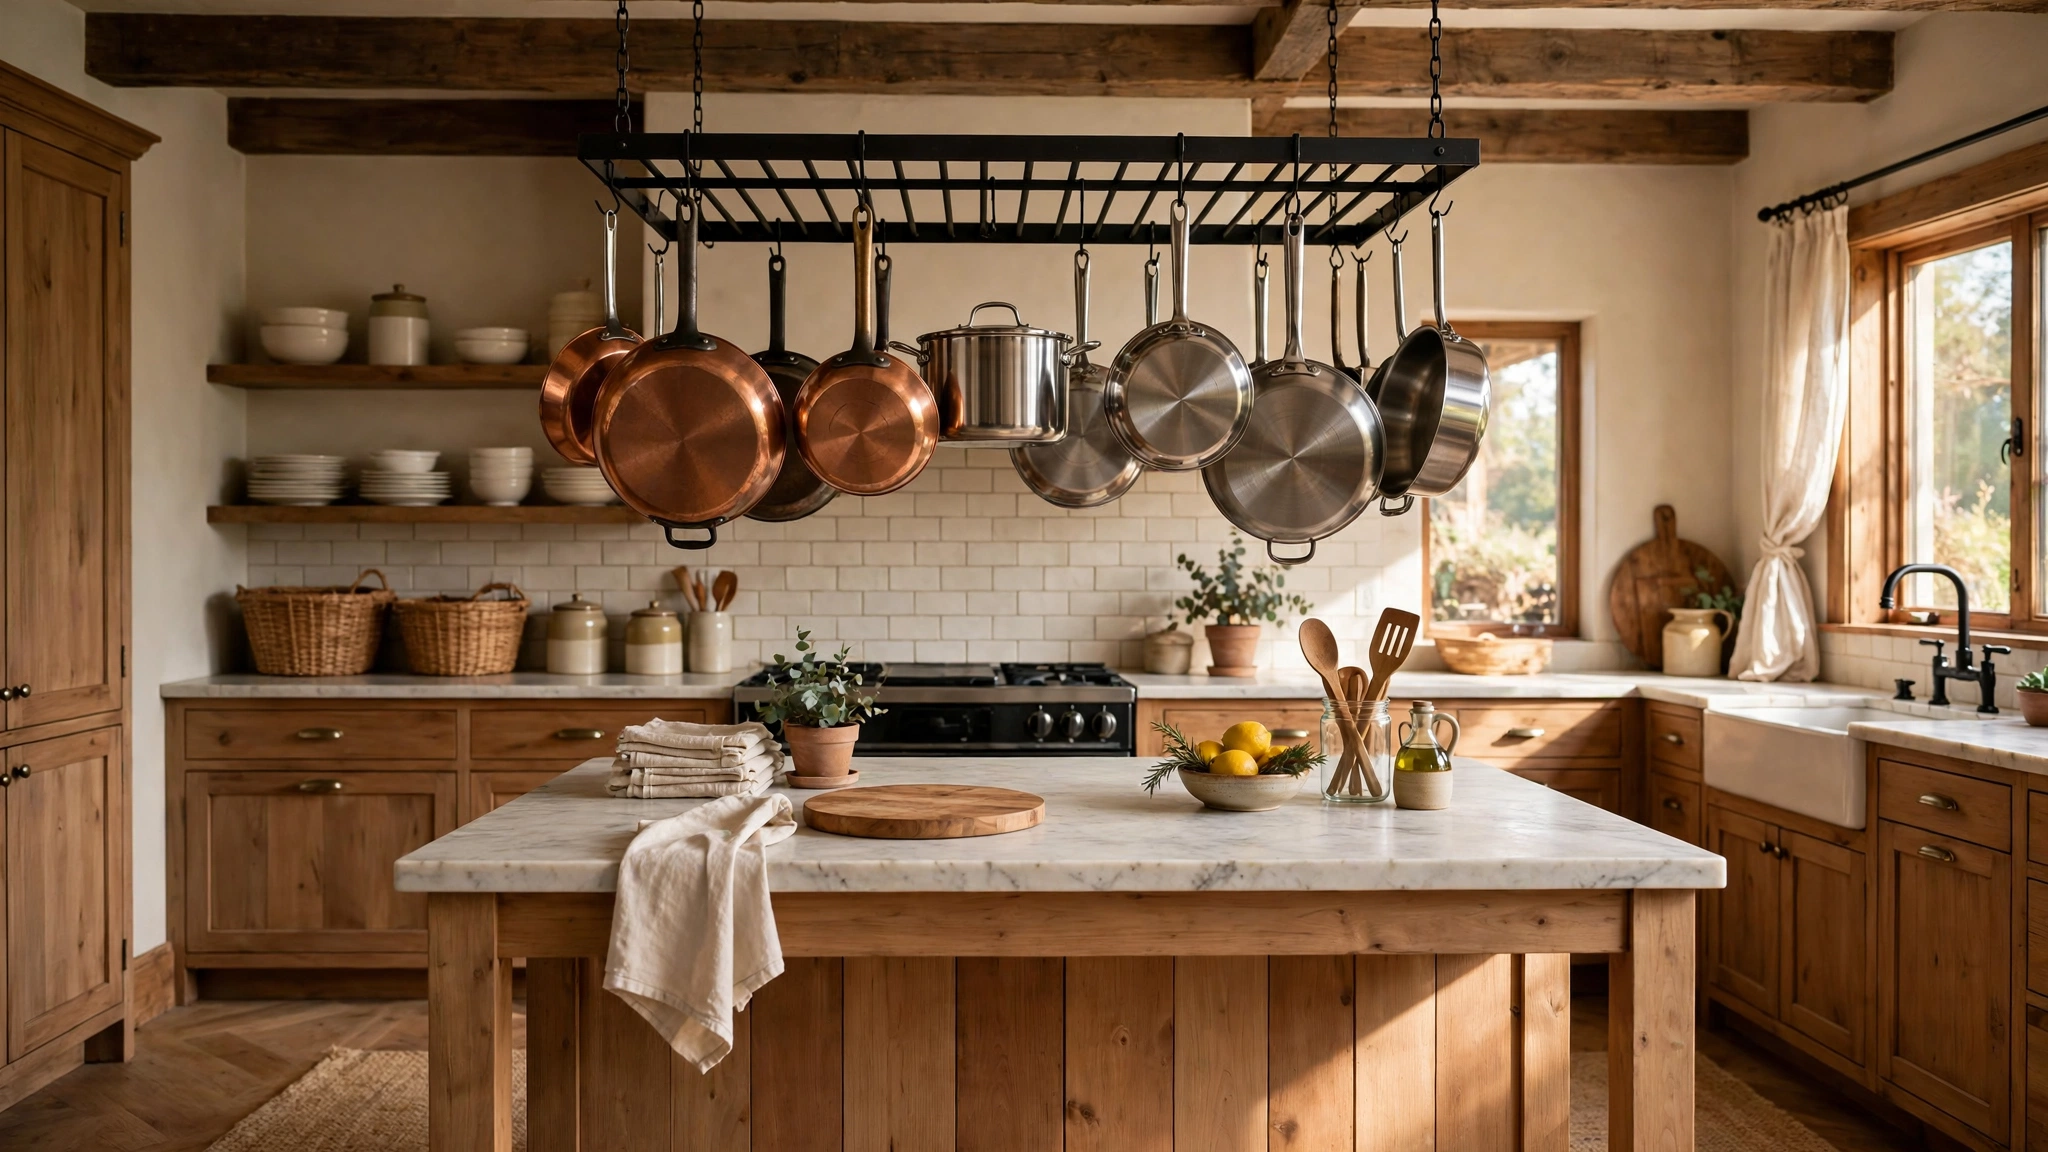
Pots and pans are bulky and hard to stack neatly — so hang them. A ceiling-mounted pot rack above the kitchen island or a free stretch of wall puts your cookware within arm's reach while freeing an entire lower cabinet. Choose a sturdy rack with S-hooks so you can rearrange pots as your collection changes. Keep your most-used skillet and saucepan front and center, and hang lids on the outer hooks. Style it with a trailing plant or a few dried herbs in small bundles for that warm, lived-in look. Just make sure it is anchored into ceiling joists, not just drywall, since cast iron is no joke. Reserve the rack for your most-used pieces and store specialty items elsewhere, so the display stays practical rather than crowded — six to eight pieces is the sweet spot for most kitchens.

9. Custom Drawer Dividers
Junk drawers are born from one missing thing: dividers. Fit your utensil and gadget drawers with adjustable bamboo or wooden dividers so every tool has a designated slot. Sort by zone: cooking utensils near the stove, baking tools near the mixer, and everyday flatware where you plate meals. Give bulky items like peelers and tongs their own wider compartments, and corral small gadgets like thermometers and corn holders in tiny squares so they stop migrating. Trim expandable dividers to fit snugly with no gaps. Once every item has a home, the drawer stays tidy with almost no effort — and finding the potato masher takes two seconds instead of two minutes. Dedicate one narrow section as the household's official junk zone for batteries, twist ties, and takeout menus, so the clutter stays contained in one labeled spot instead of spreading.
10. Tension Rods for Spray Bottles
The under-sink area gets a second clever trick: hang a tension rod across the cabinet to hold your spray bottles by their triggers. The bottles dangle neatly above the cabinet floor, freeing the entire bottom surface for bins of sponges, gloves, and cleaning cloths. Adjust the rod height so the tallest bottle hangs without touching anything below, and keep the rod level so bottles don't slide to one side. It is a two-minute, drill-free upgrade that instantly doubles your under-sink capacity. Pair it with the sliding organizer from idea two, and the cabinet that used to be chaos becomes the most organized spot in your kitchen. Clip a small S-hook on the rod for rubber gloves or a cleaning caddy, and you will wonder why every under-sink cabinet doesn't come with this setup built in.
11. Rolling Kitchen Cart
A slim rolling cart is the Swiss Army knife of kitchen storage: it goes wherever you need it and disappears when you don't. Use it as a mobile coffee station, a prep cart with extra counter space beside the stove, or a rolling pantry for overflow ingredients. Look for carts with a mix of open shelves and closed drawers so pretty items display while clutter hides. Park it in a narrow gap between appliances or roll it to the dining table for serving. When guests come over, wheel it into a corner and drape a linen cloth over the top for an instant sideboard. It is one of the easiest, most flexible storage upgrades for small kitchens. Top it with a butcher-block or stone cutting board to create a sturdy extra prep surface, and tuck a small trash bin or compost caddy on the bottom shelf to complete the station.

12. Over-the-Door Pantry Organizer
The inside of your pantry door is a full extra shelf waiting to happen. An over-the-door rack with narrow wire or mesh tiers holds spice jars, packets, snack bars, and small cans without drilling a single hole. Keep heavier items low and lighter ones up top so the door swings smoothly and the hooks stay secure. Use the top tiers for everyday spices and the bottom ones for backstock like extra pasta boxes or broth cartons. This is a dream solution for renters since the whole thing lifts off in seconds when you move. In a small kitchen, a pantry door organizer can absorb the overflow that used to live on your counters. Stick felt pads on the back of the rack where it meets the door to prevent scratches, and tighten the hooks monthly so the organizer stays snug and rattle-free.
13. Pegboard Wall Organizer
A pegboard turns a blank wall into fully customizable storage. Mount a framed pegboard on an empty kitchen wall and arrange hooks, small shelves, and baskets to hold utensils, measuring cups, scissors, potholders, and even small potted herbs. Paint the board to match your kitchen — warm white, sage green, or a soft terracotta all look gorgeous — and it becomes wall art as well as storage. The beauty of a pegboard is that it evolves: move hooks around as your needs change with the seasons, from canning supplies in summer to baking tools at the holidays. It keeps daily tools visible and reachable, which means faster, more joyful cooking. Add one small wooden shelf across the bottom of the pegboard for cookbooks or a tiny herb garden, turning the whole arrangement into a functional focal wall.
14. Above-Fridge Cabinet System
The cabinet above the refrigerator is the most ignored space in the kitchen, mostly because it is hard to reach. Make it work with a simple system: clear stackable bins with labels, grouped by category. Store rarely used but bulky items up there — the turkey roaster, the waffle maker, holiday serving dishes, and extra paper goods. Add a small step stool that lives in a nearby closet so grabbing things feels easy, not like a chore. Front-facing labels mean you can identify every bin at a glance without pulling them all down. With this system, the awkward above-fridge zone stops being a forgotten black hole and starts earning its keep. Tape a simple inventory list inside the cabinet door so you remember what's up there, and review it twice a year to keep forgotten gadgets from piling up.
15. Slim Pull-Out Between Appliances
That narrow gap between the fridge and the wall, or beside the stove, is not wasted space — it is a slim storage goldmine. A rolling pull-out cart designed for six-to-eight-inch gaps slides right in, holding cooking oils, vinegars, spice bottles, and tall cans in neat rows. Choose a unit with raised rails so bottles stay upright when you roll it out. Keep the heaviest items at the bottom for stability, and wipe the top shelf monthly since oil splatter loves to settle there. It is deeply satisfying to pull out a whole organized tower of cooking essentials from what looked like nothing at all. Measure the gap carefully before shopping, since these carts come in fixed widths, and choose one with locking casters so it stays put when you roll it out to cook.
Styling Tips
Decant into matching containers. Transfer flour, sugar, pasta, and snacks into clear glass or ceramic jars. Uniform containers make even a packed pantry look calm and intentional, and you can see at a glance what needs restocking.
Label everything. Simple handwritten or printed labels on bins, jars, and shelf edges keep your system working when life gets busy. They also stop other household members from undoing your beautiful organization.
Group by cooking zone. Store pots, utensils, and oils near the stove; baking supplies near the mixer; and everyday dishes near the dishwasher or dining area. Shorter trips mean less mess and faster cooking.
Keep counters 80 percent clear. Corral the few countertop keepers — a utensil crock, the coffee station, a small fruit bowl — onto a single tray. Everything else gets a home behind a door, which instantly makes the kitchen feel bigger.
Use baskets to hide clutter. Woven or fabric baskets on shelves and inside cabinets disguise mismatched packaging and make open storage look curated. Choose one material and color family for a cohesive look.
Light up dark corners. Battery-powered motion-sensor lights inside deep cabinets and under shelves make hidden storage visible and inviting. You'll actually use the spaces you can see.
Edit seasonally. Every few months, pull everything out of one zone and remove what you never touch. Storage only works when it holds things you genuinely use.
Stick to a color story. When storage is visible — jars, baskets, pegboards — keep everything within two or three complementary tones. The kitchen will read as styled, not stuffed.
Frequently Asked Questions
What are the best kitchen storage ideas for a small kitchen?
Start with vertical space and hidden pockets: inside-cabinet-door racks, a rolling cart for the gap beside the fridge, under-sink sliding organizers, and a pegboard on a blank wall. These add storage without taking any floor space, and most install in minutes with no tools.
How can I add storage to my kitchen without renovating?
Tension rods, over-the-door organizers, magnetic strips, stackable bins, and rolling carts all add serious capacity with zero construction. Focus on one problem zone at a time — the under-sink cabinet or the pantry are great first projects — and you'll feel the difference immediately.
Where should I store items I rarely use?
High, low, and deep: the cabinet above the fridge, the back of tall pantry shelves in labeled bins, and toe-kick drawers. Group rarely used items by occasion (holiday serving, canning, baking) so you only pull them out when the moment calls for it.
How do I keep kitchen cabinets from getting cluttered again?
Give every item a designated home, use dividers and bins to enforce boundaries, and do a quick seasonal edit. The golden rule: if something doesn't have a spot, it doesn't get to stay on the counter — find it a home or let it go.
Are open storage solutions or closed storage better?
Both have their place. Closed storage — drawers, cabinets, bins — keeps clutter out of sight and dust off your things. Open storage like pegboards and pot racks keeps daily tools within reach and doubles as decor. A mix of both usually works best in real kitchens.
Conclusion
A well-organized kitchen isn't about perfection — it's about flow. When your spices are by the stove, your trays stand upright instead of avalanching, and your cleaning supplies glide out from under the sink, cooking stops feeling like a scavenger hunt. Start with just one idea from this list, the one that solves your biggest daily annoyance, and let the momentum carry you from there. Your future self — the one making dinner in a calm, clutter-free kitchen — will thank you.