
15 Budget Kitchen Makeover Ideas
Your kitchen doesn't need a gut renovation to feel brand new. Some of the dreamiest kitchen transformations on Pinterest started with nothing more than a gallon of paint, a weekend of elbow grease, and a trip to the hardware store. Whether you're renting, saving up for a bigger remodel down the road, or simply love a clever low-cost refresh, these budget kitchen makeover ideas prove that style has very little to do with how much you spend.
The secret is to focus on the surfaces your eyes land on first: cabinets, walls, the backsplash, lighting, and hardware. A few strategic swaps in these high-impact zones can take a tired, dated kitchen from drab to magazine-worthy in just a few days. Every idea below is DIY-doable, uses affordable materials, and delivers that cozy, collected look you love to pin. Grab your coffee, pin your favorites, and let's turn your kitchen into a space you actually love spending time in — without draining your savings.

1. Paint Your Cabinets for an Instant Facelift
Cabinet paint is the undisputed champion of budget kitchen makeovers. A fresh coat transforms worn, orangey wood or scuffed builder-grade cabinets into something that looks custom and intentional. For a cozy, timeless feel, try a warm white, soft greige, or creamy off-white. If you're feeling bold, deep navy, forest green, or charcoal add rich personality without overwhelming the space. Prep is everything: remove doors and hardware, clean every surface with a degreaser, lightly sand, apply a bonding primer, then use two thin coats of a durable cabinet or enamel paint with a foam roller for a smooth, brush-stroke-free finish. Let everything cure for several days before rehanging. While the doors are off, it's the perfect moment to line the shelves and give the interiors a wipe-down. Painted cabinets can easily shave the "dated" feeling off a kitchen for a fraction of replacement cost.
2. Swap Out Cabinet Hardware
Changing knobs and pulls is one of the quickest, most satisfying upgrades you can make. Outdated brass or tiny wood knobs instantly age a kitchen, while sleek matte black bar pulls, brushed gold knobs, or classic cup pulls bring it right into the present. Match your hardware finish to other elements for a pulled-together look — black pulls pair beautifully with a black faucet and light fixtures, while brushed brass warms up white or green cabinetry. Measure your existing hole spacing before shopping so the new pulls fit the same holes and you skip the patching and drilling. This is a one-afternoon project: unscrew the old, screw in the new, and step back to admire the difference. It's also renter-friendly if you keep the originals in a baggie to reinstall later. Small change, enormous visual payoff.
3. Install a Peel-and-Stick Backsplash
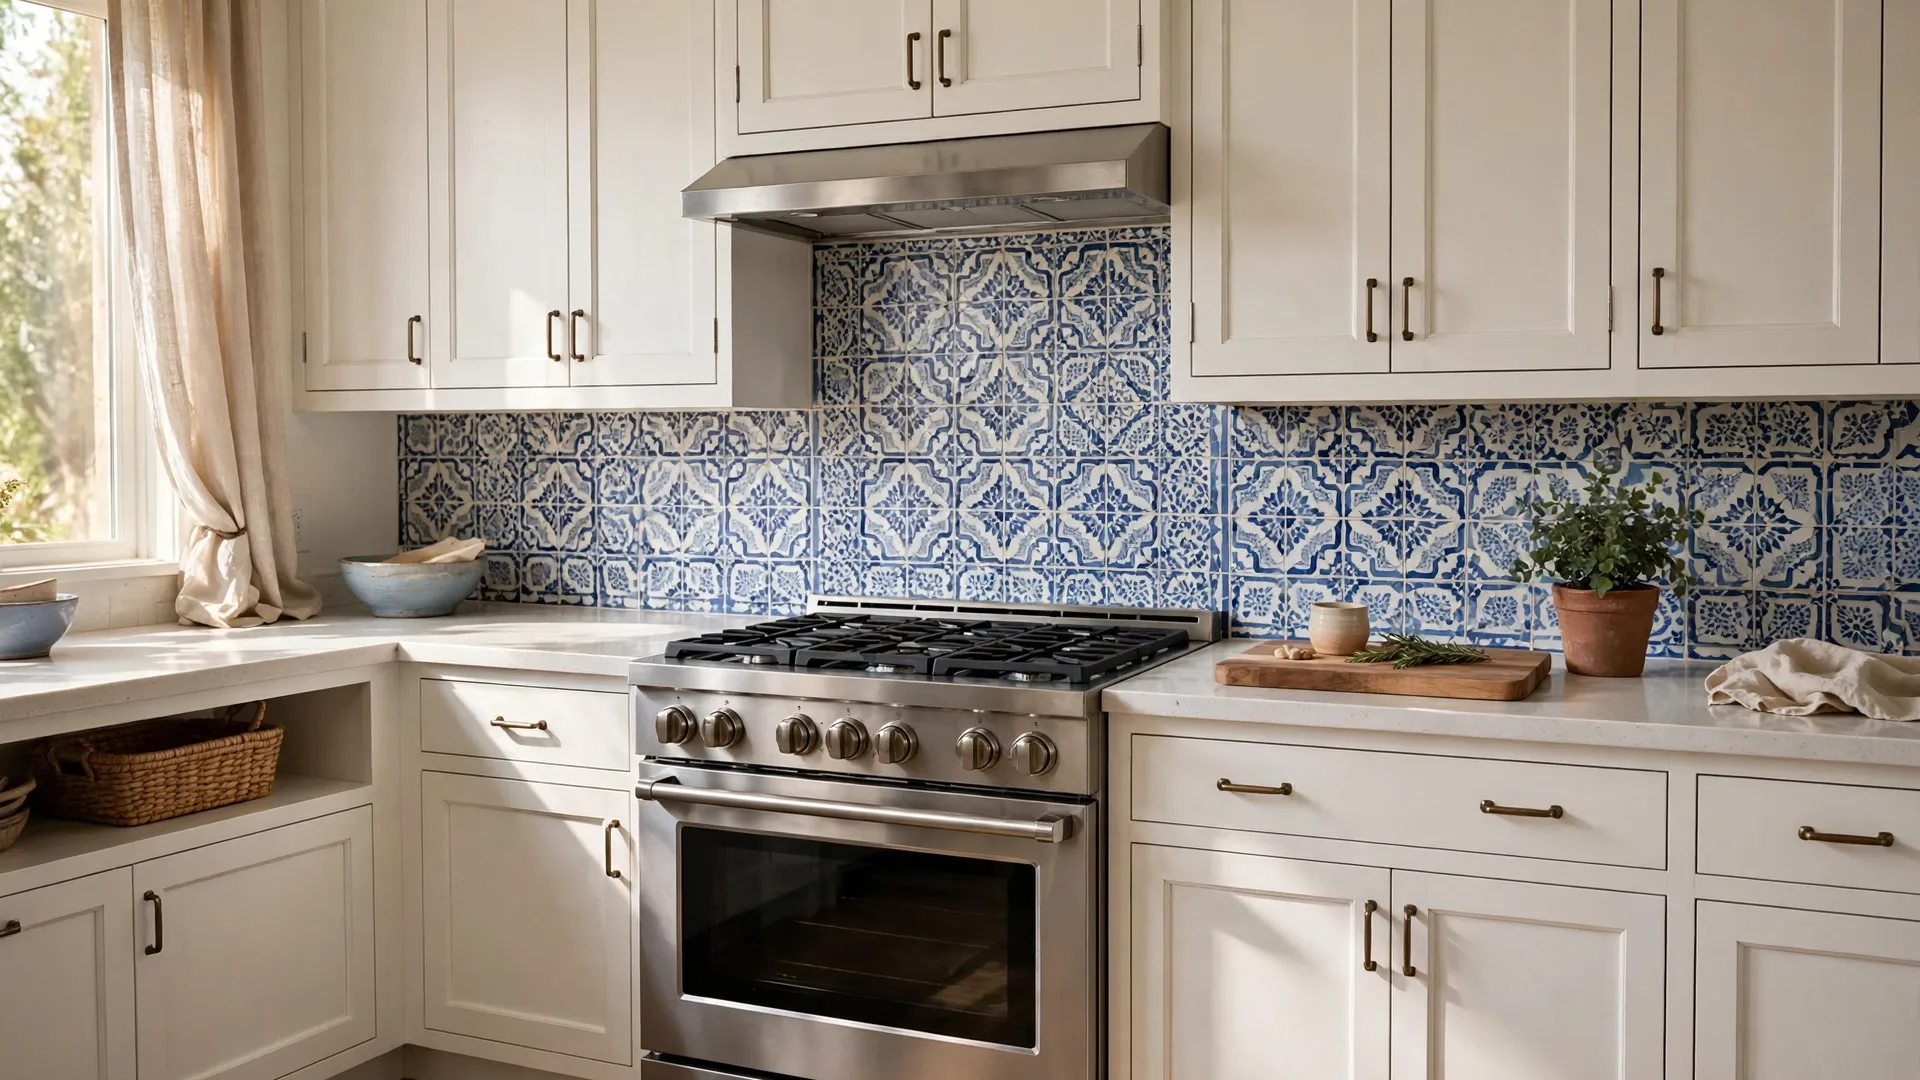
Peel-and-stick backsplash tiles are a game changer for budget makeovers. These adhesive tiles come in convincing subway tile, Moroccan, herringbone, and marble looks — and they install with nothing more than scissors or a utility knife. Clean the wall thoroughly, peel off the backing, and press each tile firmly into place, working from the center outward to keep your pattern straight. They hold up well to splashes and wipe clean with a damp cloth. If you're renting, look for removable versions that come off without damaging the wall. A fresh backsplash draws the eye immediately and makes the whole kitchen feel finished, even if everything else stays the same. Pair a patterned backsplash with solid counters, or choose a classic white subway style if your counters are already busy.
4. Give Countertops a Peel-and-Stick Refresh
When new counters aren't in the budget, peel-and-stick countertop film steps in. These heavy-duty vinyl wraps mimic butcher block, white marble, concrete, and soapstone surprisingly well. Start by deep-cleaning and drying the counters, then measure and cut the film with an inch of overhang on each edge. Apply slowly, smoothing with a felt squeegee to push out air bubbles as you go, and wrap the edges neatly underneath. A heat gun or hair dryer helps the film mold around corners and sink cutouts. Seal the edges with a bead of clear caulk to keep water out. It's not a forever fix, but it can carry a kitchen beautifully for a couple of years — perfect while you save for stone. Butcher block patterns are especially cozy paired with painted cabinets.
5. Paint Just the Kitchen Island
If painting every cabinet feels overwhelming, start with the island. A single contrasting color on the island creates a designer, custom-kitchen feel with a fraction of the work. Try a moody navy against white perimeter cabinets, a sage green for farmhouse warmth, or classic black for drama. The island is the kitchen's anchor, so a bold color there reads as intentional rather than risky. Follow the same prep routine as full cabinets — degrease, sand, prime, and use durable enamel paint. While you're at it, swap the island's hardware to match your new look, and consider adding simple trim or beadboard panels to the island sides for extra character. This weekend project delivers a high-end focal point that looks like it cost thousands.

6. Refresh the Walls with Cozy Color
Never underestimate what a fresh wall color does for a kitchen. Many kitchens are stuck with builder beige or dingy white that dulls every other feature. A warm white brightens without feeling sterile, while soft sage, warm greige, or a pale buttery yellow adds cozy personality. If your cabinets are dark, go lighter on the walls to keep the room airy; light cabinets can handle a deeper, moodier wall tone. Use a satin or eggshell finish that's scrubbable, since kitchen walls take a beating from splatters and steam. Paint is the cheapest transformation tool in existence — one gallon covers most kitchen walls, and a weekend of painting can completely reset the room's mood. Sample colors on the wall first and check them in both daylight and evening light before committing.
7. Replace the Faucet Yourself
The faucet is the kitchen's jewelry, and swapping it is easier than most people think. A modern high-arc faucet with a pull-down sprayer instantly updates the sink area and makes daily chores more pleasant. Matte black, brushed nickel, and champagne bronze finishes all read fresh and current. Turn off the water supply valves under the sink, disconnect the old lines, and follow the new faucet's instructions — most come with clear step-by-step diagrams and need only basic tools like an adjustable wrench and a basin wrench. Take a photo of the existing connections before you start, and check that your new faucet's hole configuration matches your sink (one, two, or three holes). In under two hours, the hardest-working spot in your kitchen looks brand new.
8. Upgrade the Light Fixtures
Outdated lighting — the dreaded builder-grade flush mount or dingy fluorescent box — drags down even the prettiest kitchen. Swapping in new fixtures is one of the highest-impact budget moves you can make. Hang two or three pendant lights over the island for instant style, choosing rattan or woven shades for warmth, glass globes for modern airiness, or matte black domes for contrast. Always turn off the breaker before wiring, and if the existing wiring looks questionable, call an electrician. While you're at it, swap the bulbs for warm white (2700K–3000K) LEDs, which flatter skin tones and make the whole room feel cozier than harsh daylight bulbs. Good lighting makes your paint colors look richer and your evenings in the kitchen so much more inviting.
9. Add Under-Cabinet Lighting
Under-cabinet lighting adds a warm, custom glow that makes a kitchen feel expensive after dark. Battery-operated or plug-in LED light bars and puck lights install in minutes with adhesive or small screws — no electrician needed. Stick them toward the front edge of the upper cabinets so the light washes down the backsplash and counters, creating depth and highlighting your prettiest details. Motion-sensor versions turn on automatically when you walk in, which feels wonderfully luxurious at night. Choose warm white light to complement cozy decor, and look for dimmable options so you can set the mood. This little upgrade makes evening cooking and late-night snack runs feel special, and it photographs beautifully for that Pinterest-worthy glow. They're also handy for spotting spills during late-night cleanups without flipping on the harsh overhead lights.
10. Layer in New Textiles
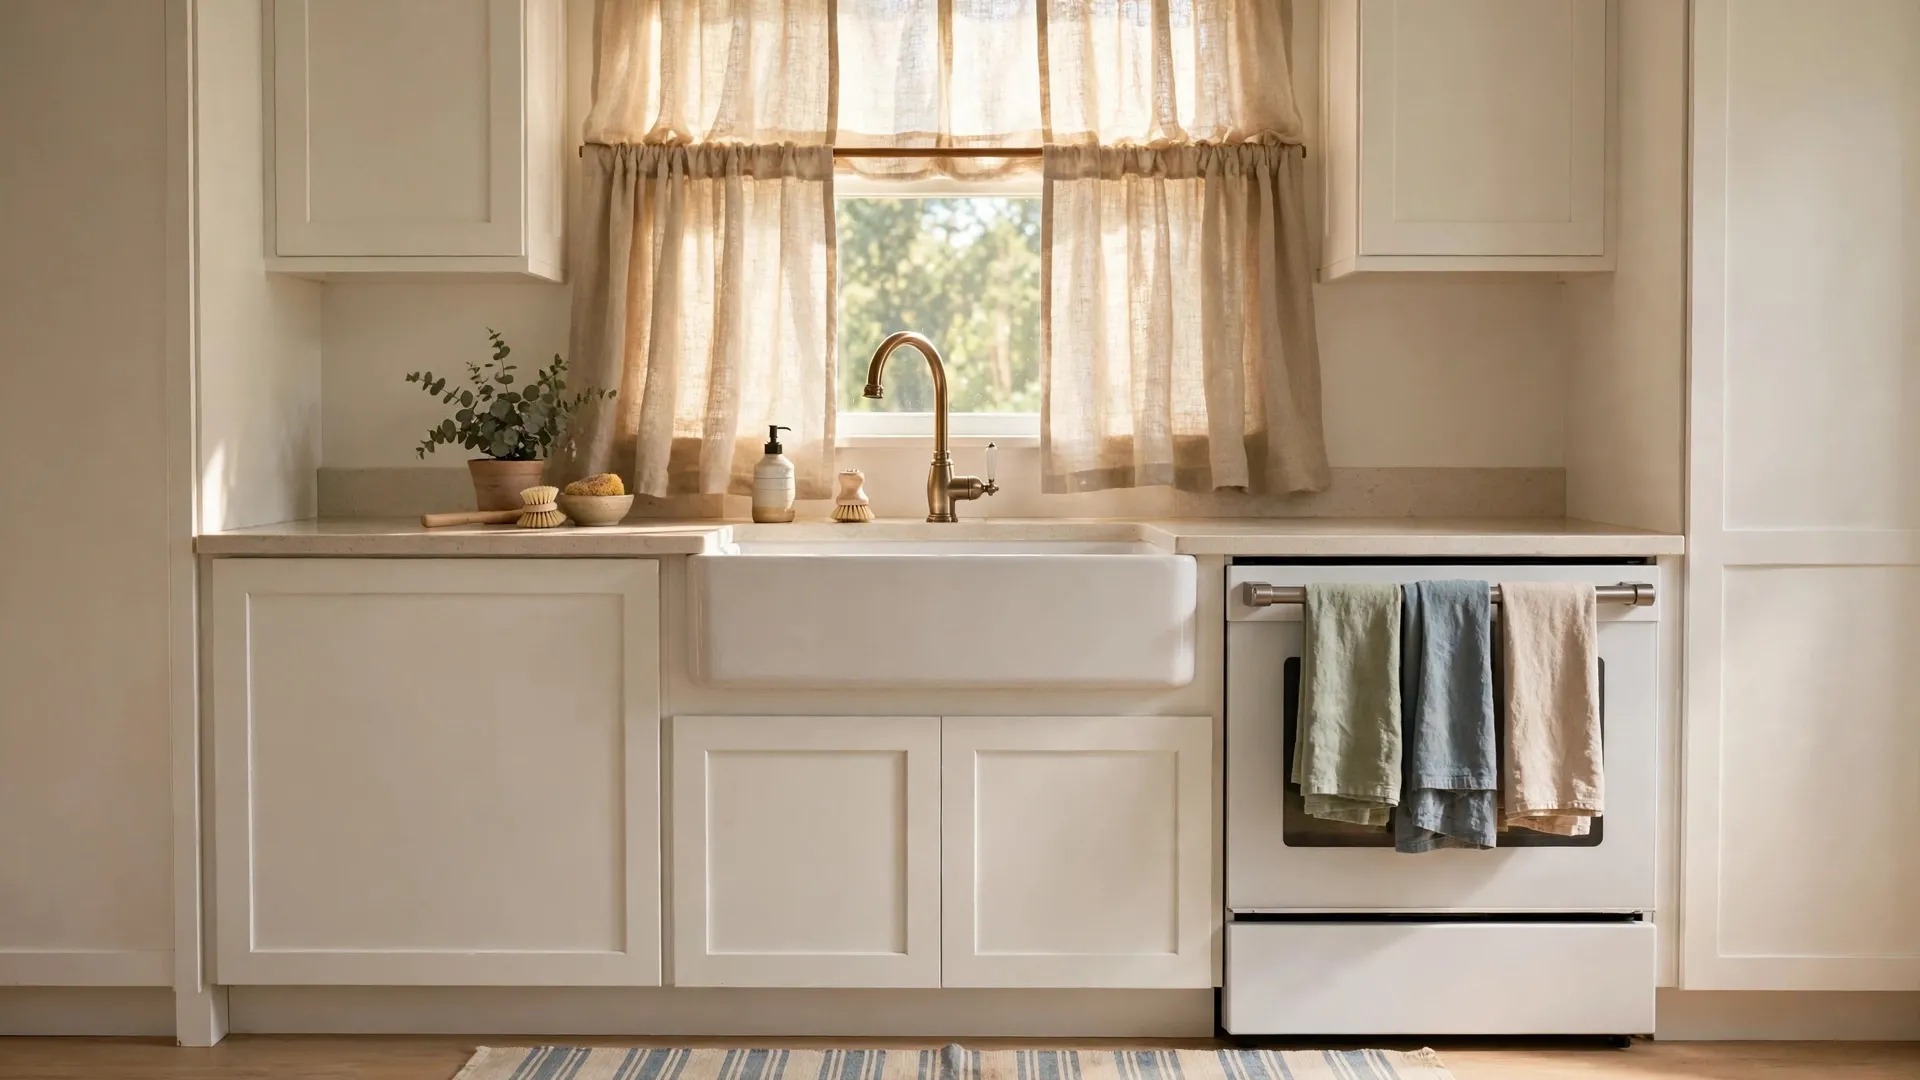
Textiles are the fastest way to add warmth, color, and pattern to a kitchen. Start with a washable runner rug in front of the sink or stove — a vintage-look or striped runner instantly softens hard floors and hides wear. Swap tired curtains for breezy linen cafe curtains, a simple Roman shade, or even a pretty valance that frames the window. Fresh dish towels in coordinating colors, hung neatly on the oven handle, act like little pops of decor. Add a folded throw or table runner on a breakfast nook table, and consider washable seat cushions on stools or chairs. Stick to a simple palette of two or three colors so everything feels cohesive rather than cluttered. Textiles are easy to change seasonally, so your kitchen can get a mini-refresh every few months.
11. Update Switch Plates and Outlet Covers
It's a tiny detail, but grimy, yellowed, or mismatched switch plates and outlet covers quietly cheapen a kitchen. Replacing them all with clean, matching covers costs very little and takes minutes per plate. Choose a finish that complements your hardware — matte black covers look sharp with black pulls, while simple white or brushed metal covers suit most styles. For extra charm, try decorative covers in ceramic or vintage-inspired designs on a feature wall. While the covers are off, it's a good moment to wipe down the wall behind them. Turn off the breaker for safety before unscrewing anything near wiring. This is the kind of detail guests won't consciously notice, but it contributes to that crisp, finished feeling that makes a makeover look complete.
12. Style the Counters with Pretty Vignettes
A styled counter is free decor. Clear everything off, then rebuild with intention: a wooden cutting board leaned against the backsplash, a small potted herb or trailing plant, a pretty soap dispenser by the sink, and a ceramic crock holding wooden utensils. Group items in odd numbers and vary their heights for a natural, curated look. Corral everyday items on a tray so they read as a deliberate arrangement instead of clutter. Keep at least half of your counter space clear — breathing room is what separates "styled" from "crowded." Fresh greenery is the single best budget styling trick; a $5 herb pot from the grocery store adds life and color instantly. Rotate your vignettes seasonally with pumpkins in fall or fresh citrus in summer for an always-fresh feel.
13. Paint Outdated Tile
If your tile backsplash or even floor tile is dated but in good shape, specialty tile paint can rescue it. Clean the tile thoroughly and scuff glossy surfaces lightly with fine sandpaper so the paint grips. Apply a bonding primer designed for slick surfaces, then use your chosen tile or enamel paint in thin, even coats. A classic white over busy patterned tile creates a clean, modern backdrop, while a soft color adds personality. For extra charm, hand-paint a stencil pattern onto plain tile for a faux encaustic look. Let everything cure fully — a week is ideal — before heavy use or scrubbing. This trick works wonders on 90s-style backsplashes and dated bathroom-adjacent kitchen floors, buying you years of fresh looks without demolition.
14. Hunt Thrift Stores for Character Pieces
Thrift stores, flea markets, and garage sales are treasure troves for budget kitchen character. Look for a small wooden stool to tuck beside the island, vintage cutting boards with beautiful patina, ceramic pitchers, woven baskets for produce, or a charming café curtain rod. A secondhand bar cart can become a coffee station; an old wooden crate makes rustic open storage for cookbooks. Clean and seal wood finds with food-safe oil, and give ceramics a good scrub. The key is choosing pieces with good bones and simple shapes that fit your color scheme — one or two character pieces add soul, while too many read as clutter. Thrifting keeps your kitchen unique instead of catalog-perfect, and the hunt itself is half the fun.
15. Declutter and Organize Like a Designer
The cheapest makeover of all is free: a ruthless declutter. Pull everything off the counters and only put back what you use daily and what looks beautiful. Decant dry goods into matching glass jars for a uniform, pantry-worthy look. Add inexpensive hooks or a rail under the cabinets for mugs, and use drawer dividers and shelf risers to make storage work harder. A tidy, organized kitchen automatically looks bigger, brighter, and more expensive. Once the clutter is gone, the pretty details you've added — new hardware, fresh paint, styled vignettes — finally get room to shine. Take "before" photos so you can appreciate the transformation, and commit to a quick nightly reset to keep counters clear. Organization is the invisible foundation every beautiful kitchen shares.
Styling Tips
A successful budget makeover is as much about restraint as it is about new additions. Start by choosing one clear style direction — cozy farmhouse, clean modern, warm traditional, or cheerful cottage — and let it guide every choice, from paint color to textiles. This keeps a thrifty mix of updates feeling intentional instead of random.
Work in layers, tackling the biggest visual surfaces first. Cabinets, walls, and the backsplash set the tone; hardware, lighting, and textiles add the polish. If your budget is truly tiny, do one layer at a time and live with it before moving on — you'll make better decisions when you can see each change in place.
Repeat finishes and colors for cohesion. If you chose matte black hardware, echo it in the faucet, light fixtures, and switch plates. If your runner rug has sage green in it, pick up that green in a plant pot or dish towels. Two or three repeats of a color or finish is what makes a room feel designed.
Don't forget the fifth wall — the ceiling. A fresh coat of bright white ceiling paint makes the whole kitchen feel taller and cleaner, and it costs almost nothing if you're already painting.
Finally, photograph your kitchen in natural daylight as you go. The camera reveals clutter, awkward spacing, and color clashes your eyes miss in person. Use those photos to edit ruthlessly. The goal isn't a showroom — it's a warm, hardworking kitchen that feels like you, achieved one smart, affordable step at a time.
Frequently Asked Questions
What's the cheapest way to makeover a kitchen?
Paint is the cheapest high-impact change — a fresh coat on walls or cabinets transforms the room for the cost of a few gallons. After that, decluttering costs nothing and instantly makes the space feel bigger and brighter. Swapping cabinet hardware, adding a washable runner rug, and styling the counters with items you already own are all nearly free ways to refresh the look before spending on bigger updates.

Can I really paint kitchen cabinets myself?
Absolutely — cabinet painting is one of the most popular DIY kitchen projects. The keys are thorough prep (degrease, sand, prime) and using a durable cabinet or enamel paint rather than regular wall paint. Remove doors and hardware, work in thin coats, and allow proper curing time before rehanging. Take your time and the results can look remarkably professional.
Are peel-and-stick backsplash and countertop products durable?
For a budget refresh, yes. Quality peel-and-stick backsplash tiles handle splashes and daily wiping well and last for years in most kitchens. Countertop film is less permanent — expect one to three years of good looks with gentle care. Both are ideal when you're renting or saving for a full renovation, and they remove without the mess of demolition.
How do I makeover a kitchen in a rental?
Focus on reversible changes: peel-and-stick backsplash tiles, removable countertop film, new cabinet hardware (keep the originals to reinstall), freestanding lighting like plug-in pendants or LED strips, washable rugs, curtains, and styled vignettes. Always check your lease first, and keep every original fixture you remove so move-out day is painless.
What color should I paint my kitchen on a budget?
Warm whites, soft greige, and creamy off-whites are safe, timeless choices that brighten the space and pair with anything. For more personality, sage green, warm navy, and soft terracotta are cozy and on-trend. Test large swatches on the wall and view them in morning and evening light before committing, since kitchen lighting changes dramatically through the day.
How long does a budget kitchen makeover take?
Most of the ideas in this post are weekend projects — hardware swaps, lighting, textiles, and styling can each be done in a day. A full cabinet paint job typically takes a long weekend including prep and cure time. You can spread the whole makeover over a few weekends, doing one layer at a time, which also spreads out the cost.
Conclusion
A beautiful kitchen isn't about how much you spend — it's about thoughtful choices, a little elbow grease, and knowing where small changes make the biggest difference. Whether you start with a gallon of paint, a peel-and-stick backsplash, or simply a good decluttering session, each of these ideas moves your kitchen closer to the cozy, welcoming space you deserve. Pick the two or three that excite you most, tackle them this weekend, and enjoy the transformation. Your dream kitchen might be closer — and cheaper — than you think.