
15 Kitchen Layout Ideas That Work
Your kitchen is the hardest-working room in the house, and the way you lay it out changes everything — how fast you can get dinner on the table, how many people can gather around the island, even how much you enjoy cooking on a tired Tuesday night. A good kitchen layout is not about having the biggest room or the most expensive cabinets. It is about flow: where you stand, what you reach for, and how many steps it takes to get from the fridge to the stove with a dripping spoon in your hand.
Whether you are renovating a cramped rental kitchen, building from scratch, or simply rethinking a space that has never quite worked, the layout you choose sets the foundation for everything else. Below are fifteen kitchen layout ideas that genuinely work in real homes — from compact galleys to grand double islands — each with practical details on how to style it, light it, and make it feel like yours. Pin your favorites, sketch a rough floor plan, and find the layout that fits the way you actually cook and live.

1. The Classic Galley Kitchen
The galley kitchen is a long, narrow corridor with counters and cabinets on both sides — and it is one of the most efficient layouts ever designed. Everything sits within a few steps: fridge at one end, sink in the middle, stove at the other, and you barely turn around to reach it all. To keep it from feeling like a tunnel, run a pale or mid-tone color on the cabinets and a continuous backsplash so the eye travels smoothly down the room. Let natural light in with the brightest window at the far end if you have one. Keep one wall's upper cabinets open shelving or glass-fronted to release visual weight, and add a slim runner rug in a washable pattern down the center for warmth and sound softening. A galley around six to seven feet wide gives enough room for one cook to work comfortably while still allowing someone to pass behind.
2. The L-Shape Layout
An L-shape kitchen tucks cabinets and appliances along two adjoining walls, opening the rest of the floor for a dining table or island — which is exactly why it is the most popular layout in family homes. The corner where the two runs meet becomes a natural work triangle between sink, stove, and fridge, so dinner prep flows without wasted steps. Style it by anchoring the corner with a beautiful range hood or a window over the sink that frames the view. Leave the long leg of the L open to the room and float a small island or round dining table in the freed-up space so the kitchen feels connected to daily life. For cozy warmth, mix countertop materials: a butcher-block section for the prep run and stone near the range. Paint the lower cabinets a deeper tone than the uppers to ground the L and draw the eye along its length.
3. The U-Shape Layout
The U-shape wraps counters around three walls, creating a cocoon of workspace that serious cooks adore. You get acres of counter space and storage, with everything — sink, stove, fridge — arranged within a tight, efficient triangle. The trick to styling a U is keeping the middle of the room airy so the three walls of cabinetry do not close in. Use lighter finishes on the wall you face most often, and save open shelving or a decorative range alcove for the center wall to break up the run. A window over the sink on the far wall becomes the focal point that pulls your gaze through the space. If the U is wide enough, drop a narrow island or a small butcher-block cart in the center for extra prep room and a casual place to perch. Keep walkways at least four feet wide so two cooks can move without bumping elbows.
4. The Open-Plan Kitchen
Open-plan kitchens remove the walls between cooking, dining, and living so everything flows together — perfect for people who host, chat, and cook all at once. The layout challenge here is defining the kitchen zone without rebuilding the walls you just removed. Style it with a large island as the visual anchor: paint it a rich accent color, hang two or three pendant lights low over it, and let the seating side face the living area so cooks and guests stay connected. Keep the cabinetry and palette consistent with the adjoining rooms so the whole space reads as one — carry the flooring straight through without a threshold for maximum flow. A change in ceiling treatment, like wood beams or a subtle soffit over the cooking area, can mark the kitchen zone beautifully while the conversation keeps flowing.
5. Kitchen with an Island
Adding an island is the single biggest upgrade most kitchens can get: instant prep space, storage on all sides, and a natural gathering spot. The ideal island leaves about three and a half to four feet of walkway on every side so drawers can open and people can pass. Style it as the star of the room — a contrasting paint color, waterfall countertop edges, or fluted panel detailing makes it feel like furniture rather than cabinetry. Hang statement pendant lights about thirty to thirty-six inches above the countertop for task lighting that doubles as decor. Reserve one side for seating with comfortable counter stools, tuck power outlets into the ends for small appliances, and use deep drawers on the working side for pots and pans so everything heavy lives low where it is easy to reach.

6. Kitchen with a Peninsula
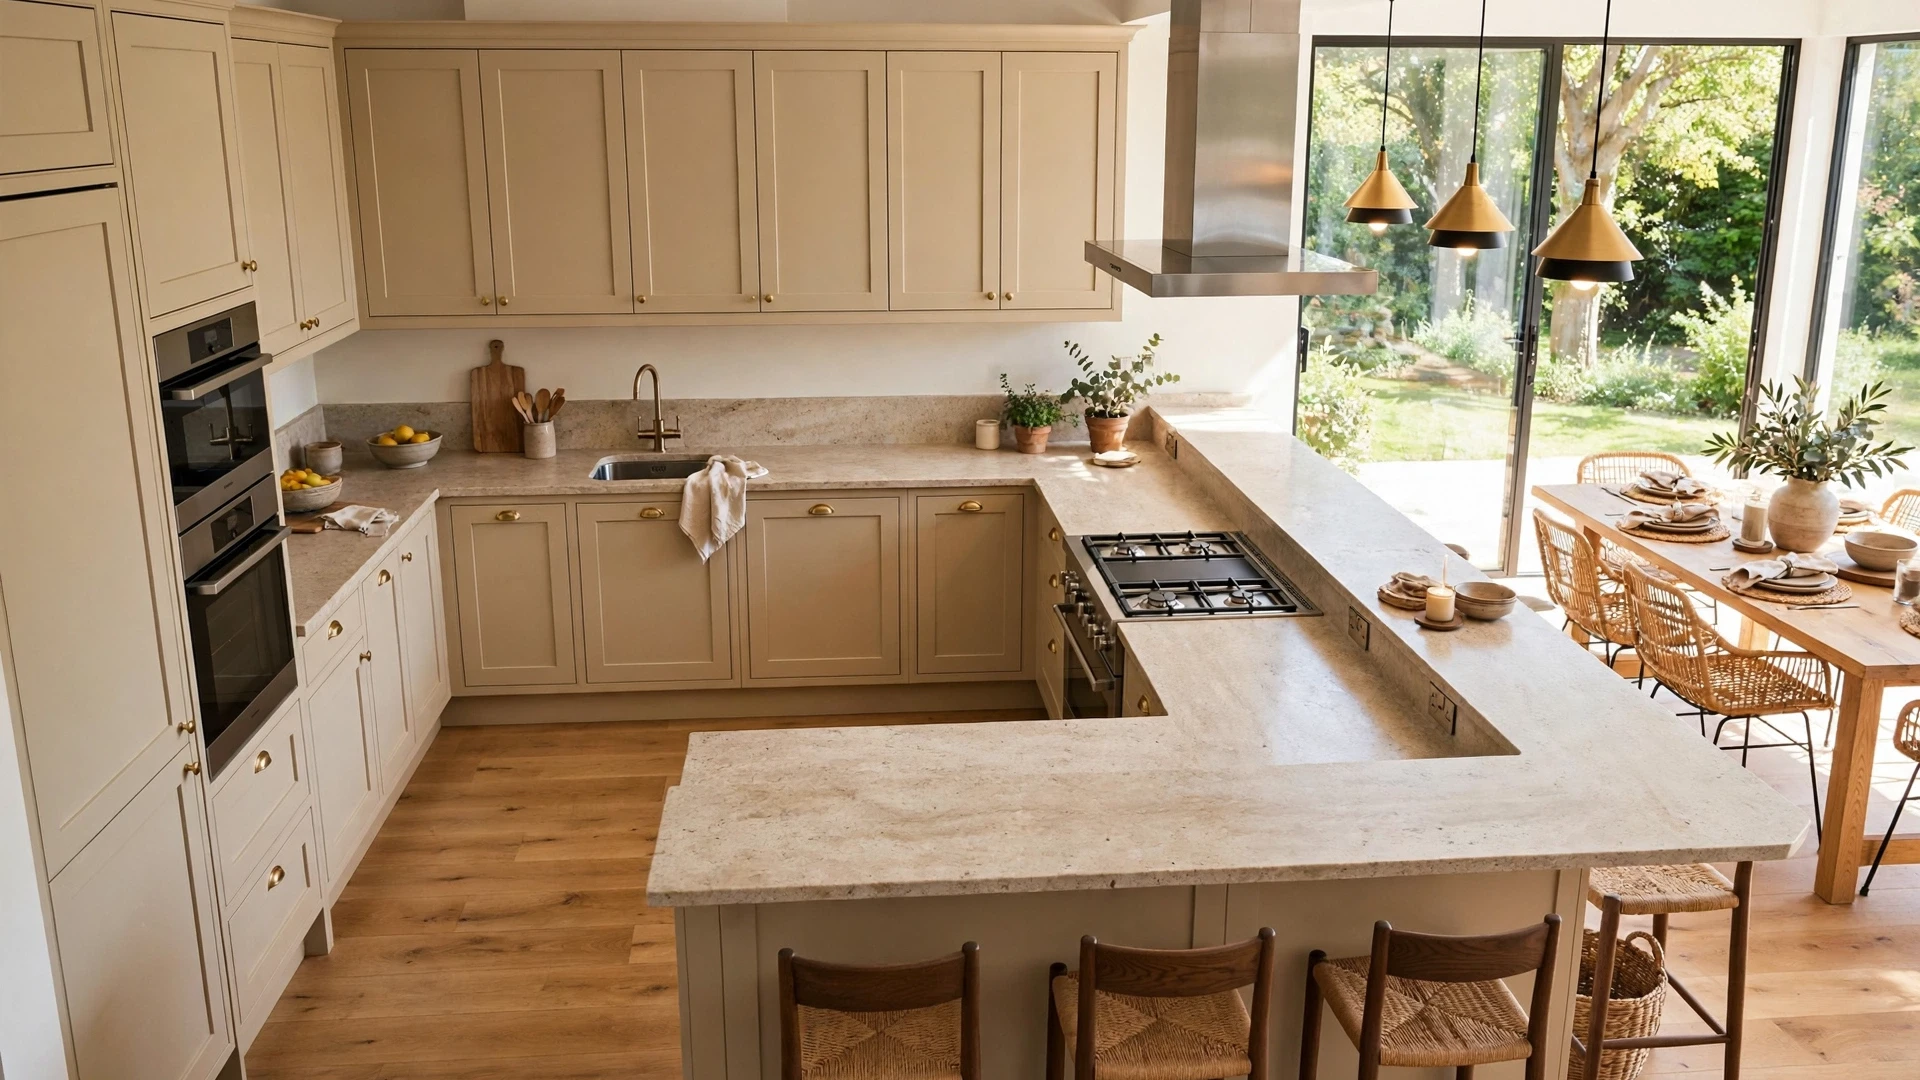
A peninsula is an island that stays attached to the main counter run — all the benefits of an island, but it works in rooms too narrow for a freestanding one. It closes off one side of the kitchen into a comfortable U or G shape while leaving the other side open to the dining or living area. Style the peninsula as a transition piece: put the cooktop or sink along its inner edge so the cook faces guests, and save the outer edge for seating and serving. A slightly overhanging countertop on the outside creates a natural bar for morning coffee or homework time. Keep the base the same finish as the other cabinets for cohesion, or paint just the peninsula to define it as the room's hub. It is one of the smartest layouts for turning a closed-off kitchen into a social space without moving a single wall.
7. The Single-Wall Kitchen
The single-wall kitchen lines everything up along one wall — sink, stove, fridge in a row — and while it sounds minimal, done well it is sleek, calm, and surprisingly functional. This layout shines in studios, small apartments, and open lofts where the kitchen shares a room with everything else. Style it like a piece of architecture: tall floor-to-ceiling cabinetry in a single finish makes the whole wall look like elegant built-ins, with the refrigerator panel-fronted to disappear. A full-length backsplash in handmade-look tile adds character without clutter, and a slim shelf or picture rail above the counter gives you a spot for art and herbs. Float a dining table parallel to the wall as your secondary prep surface and serving station — it extends the kitchen into the room and doubles as your island when friends come over.
8. The Work Triangle Layout
The work triangle is the golden rule of kitchen design: place the sink, range, and refrigerator at the corners of an imaginary triangle with each leg between four and nine feet long. It is less a shape than a principle, and it quietly makes every layout above work better. Styling a triangle-based kitchen means thinking in task paths — keep the prep tools between the sink and the stove, the spices within arm's reach of the range, and the everyday dishes in the cabinet between the dishwasher and the sink. Clear clutter from the countertop stretches between points so each leg stays a straight shot. If you share the kitchen, the triangle reveals where traffic crosses the cook's path, and you can fix it with a second small sink or a dedicated drinks station outside the triangle. Sketch your triangle on paper before committing to anything — it is the cheapest design tool you own.
9. The Zone-Based Layout
Instead of thinking in appliances, the zone-based layout thinks in activities: a prep zone, a cooking zone, a cleaning zone, and a storage zone, each with its own stretch of counter and the tools to match. The prep zone sits between the fridge and the sink with knives, cutting boards, and mixing bowls close at hand; the cooking zone clusters around the range with pots, oils, and utensils; the cleaning zone gathers the dishwasher, sink, trash, and recycling in one easy sweep. Style it by repeating a material or color within each zone — a wooden board and herb pots in the prep zone, copper and warm tones at the range — so each area feels intentional rather than scattered. Zones work in almost any footprint, from galleys to great rooms, and they are a game changer for families where three people are doing three different kitchen jobs at once.
10. Kitchen with a Breakfast Nook
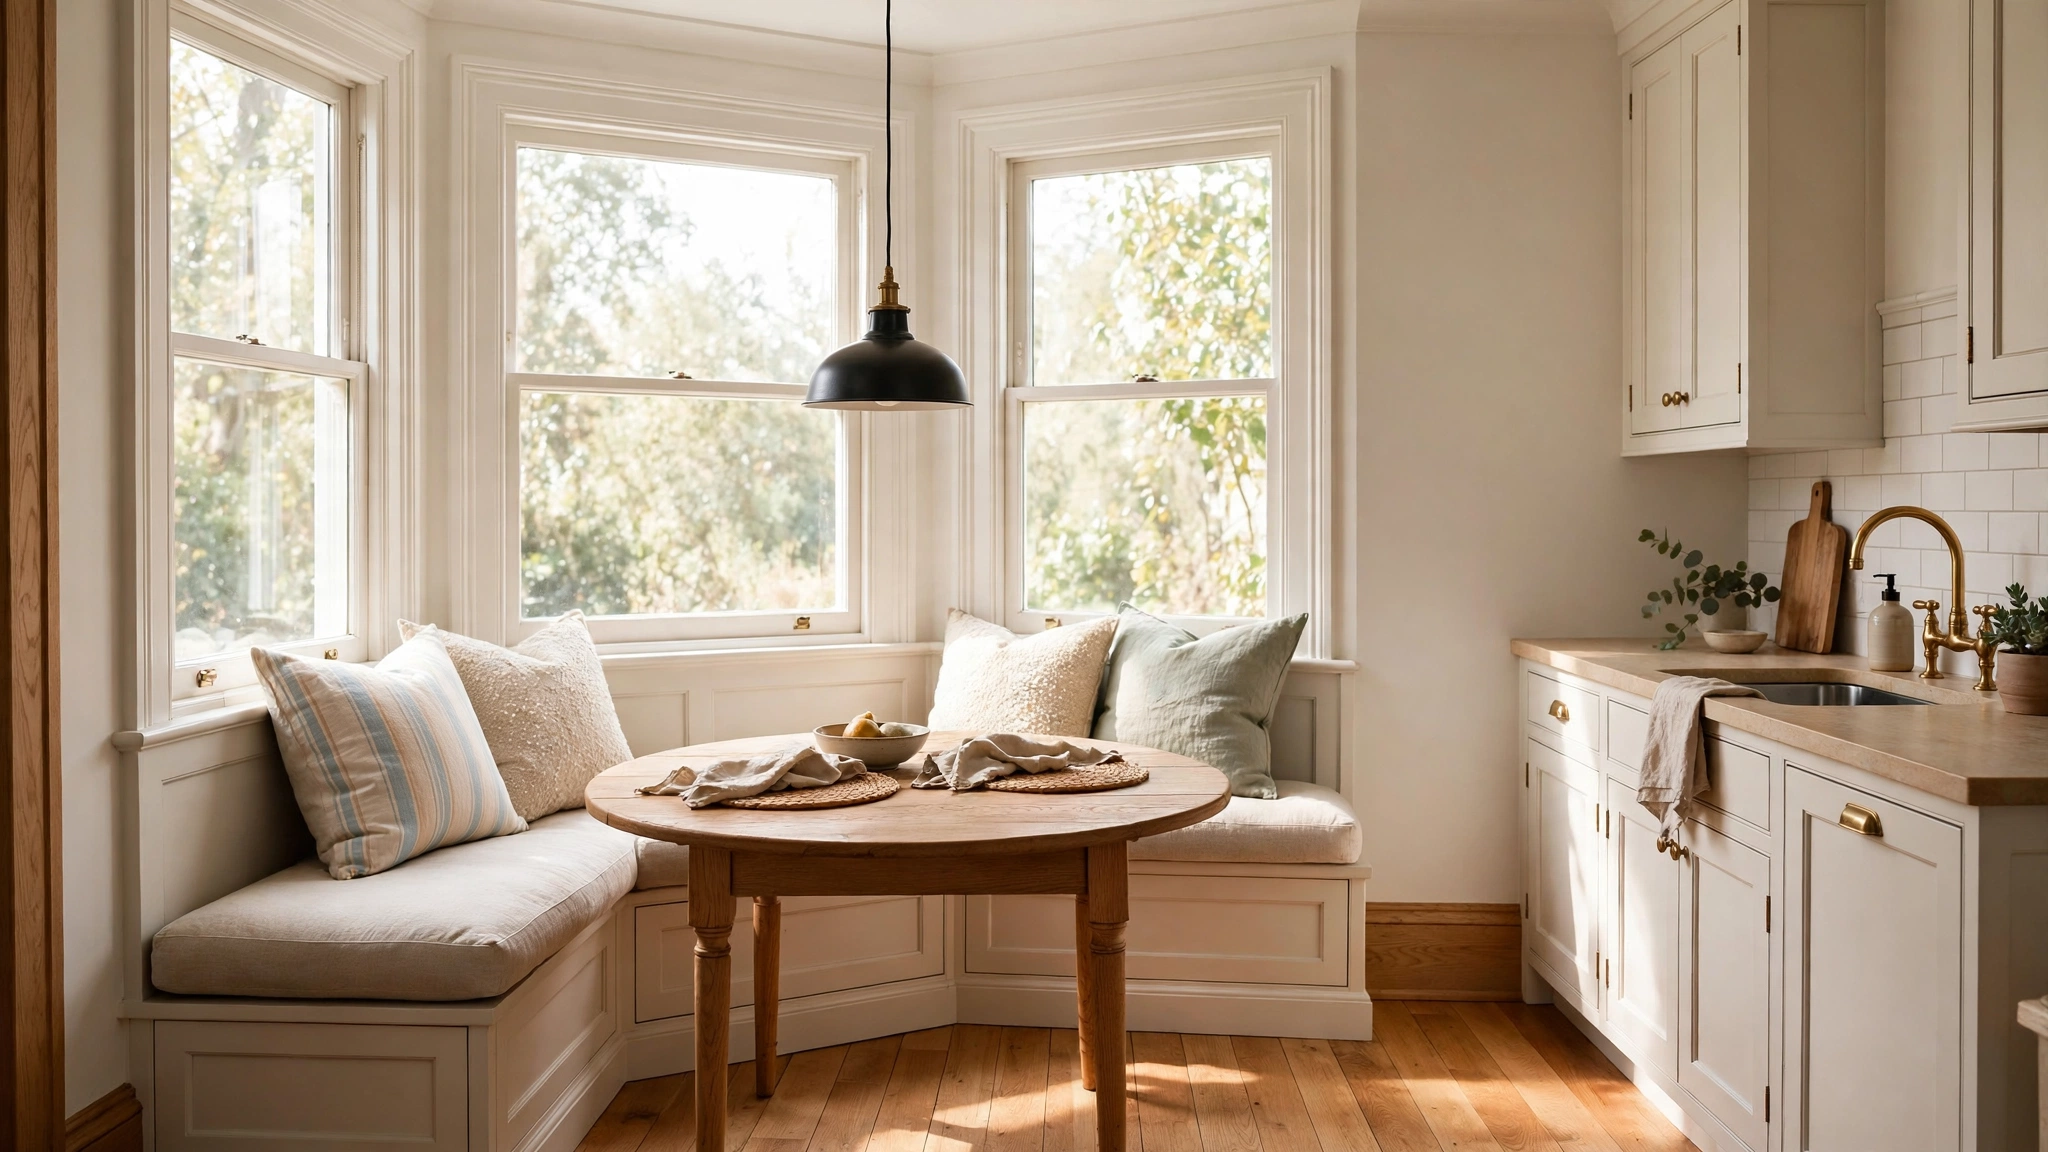
An eat-in breakfast nook tucks a table and bench seating into a bay window, corner, or dead end of the kitchen — and it instantly makes the room feel like the heart of the home. The layout trick is keeping the nook inside the kitchen's circulation without blocking the cook's path: a banquette against the wall needs only about twenty-four inches of depth, and a round table with two chairs tucks into corners that would otherwise go wasted. Style it for maximum coziness: a built-in bench with a thick cushion and throw pillows, a patterned tablecloth or washable runner, and a pendant or small chandelier hung low over the table to mark the spot. Keep the palette tied to the kitchen so the nook feels planned, not plopped down. This is where weekday breakfasts, after-school snacks, and long Sunday coffees live — plan your layout around it and it will get used every single day.
11. The Double-Island Kitchen
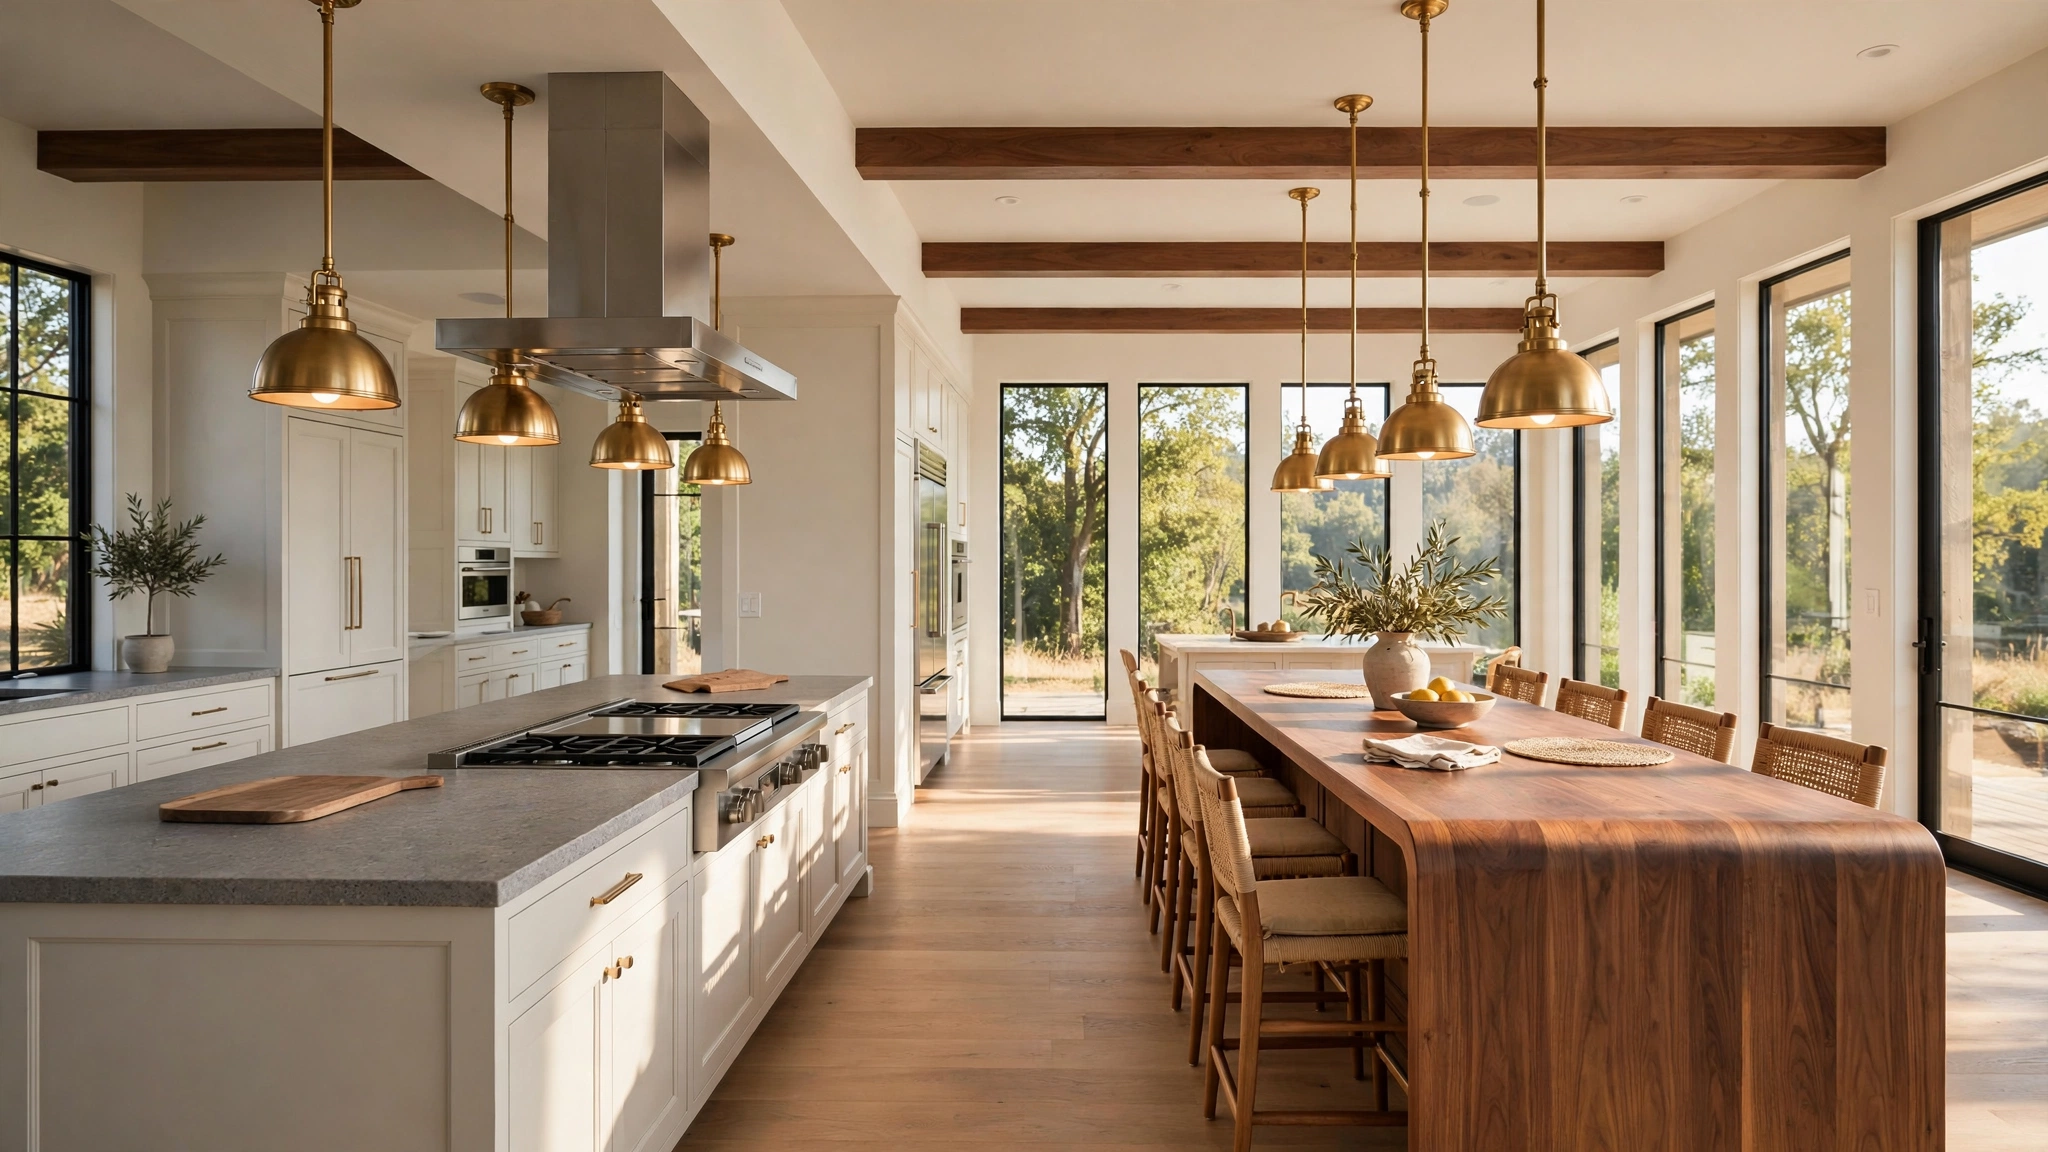
When one island is not enough, the double-island layout splits the work across two: one island for prep and cooking, the other for seating and serving. This grand layout suits large open kitchens where a single oversized island would look stranded in the middle of the floor. Style the pair as partners, not twins — give the cooking island a durable stone top and a lowered baking section or integrated range, and give the gathering island a warmer finish, waterfall edges, and comfortable stools tucked along one side. Repeating pendant lights over both creates rhythm, while differentiating the base colors keeps it from feeling matchy. Leave generous walkways — at least four feet, ideally more — between the islands so traffic flows easily. It is the entertainer's dream layout: one cook works while the other hosts, and nobody is ever in the way.
12. The G-Shaped Kitchen
The G-shape is a U with an extra spur — a fourth wall or peninsula jutting out — giving you the maximum amount of counter and cabinet space a layout can offer. That extra arm is perfect for a breakfast bar, a secondary prep station, or a baking area that stays out of the main traffic lane. Styling a G means managing the abundance: vary the finishes on the peninsula spur so it reads as a distinct station rather than just more counter. Open up one corner with shelving or a glass-front cabinet to keep the extra cabinetry from feeling heavy, and make sure the spur does not pinch the entry — you still need comfortable clearance to walk in. This layout is a dream for avid cooks and bakers who want every tool within reach, and it pairs beautifully with warm, layered lighting so each arm of the G gets its own glow.
13. The Broken-Plan Kitchen
Broken-plan is the middle ground between open and closed: the kitchen stays visually connected to the living areas but is defined by half-walls, glass partitions, wide cased openings, or a change in level. You get the sociable flow of open plan with the cozy, contained feeling of a real room — plus practical bonuses like keeping cooking smells and noise from drifting everywhere. Style the transition itself: a glass-and-steel partition with reeded or frosted glass lets light through while marking the boundary, and a wide arch or thick cased opening feels architectural rather than chopped up. Keep the color palette flowing between the zones but shift one element — darker cabinetry, different flooring, or a bolder backsplash — so the kitchen has its own identity. It is the layout for people who love open living but still want a kitchen that feels like a kitchen.
14. The Walk-Through Corridor Kitchen
Some kitchens have to double as the hallway — connecting the front door to the back garden, or the garage to the living room. The walk-through layout accepts the traffic and designs around it: keep one side of the corridor clear as the main path, and concentrate the heavy work triangle on the other side. Style it to feel intentional, not accidental — run the same flooring straight through so the kitchen reads as part of the journey, and use the passage wall for tall storage, a slim console, or a gallery of framed art that makes the walk pleasant. Never put the stove or an open dishwasher in the traffic lane; instead, anchor the path side with a counter that doubles as a landing strip for bags and keys. A runner rug, consistent lighting, and a clear sightline through the space turn a compromised floor plan into a charming, lived-in one.
15. The Accessible Universal-Design Kitchen
The universal-design layout plans for everybody: lower counters at varied heights, wide walkways of at least four feet, knee space under the sink and cooktop for seated use, and appliances with front controls rather than reach-over knobs. It is designed for aging in place, wheelchair users, and anyone with limited mobility — but honestly, it is just a better kitchen for everyone. Style it without compromise: varied counter heights create a beautiful, sculptural rhythm instead of one flat run; pull-out shelves and deep drawers make everything reachable for every body; and a wall oven at a comfortable height is easier on backs and knees at every age. Choose lever-style faucets, good task lighting at every station, and slip-resistant flooring. Designing for access does not mean sacrificing style — it means the kitchen you love today still works for you twenty years from now.
Styling Tips
A great layout is only half the story — the styling choices you make inside it decide whether the kitchen feels cold and showroom-like or warm and truly yours. Start with lighting in layers: under-cabinet strips for the work surfaces, pendants or a chandelier for the gathering spots, and one soft ambient source so the room glows in the evening. Vary your textures on purpose — smooth stone counters against warm wood shelves, matte cabinets against a handmade-look backsplash — because texture is what makes a kitchen feel collected rather than flat. Keep the everyday items beautiful since they will live on the counter: a wooden cutting board, a crock of utensils, a small bowl of lemons, and a potted herb or two do more than any decor object. Hide the rest — clearing small appliances into an appliance garage or cabinet keeps counters calm and makes the whole layout breathe. Tie the kitchen to the rest of your home with one repeated element, whether it is the same flooring, a color from the living room cushions, or matching hardware finishes, so the room feels connected instead of dropped in. Finally, plan your storage by task, not by leftover space: the things you use every day should live between your hips and your shoulders within two steps of where you use them. A layout that puts your coffee station next to the mugs and the trash under the prep counter will make you happier every single morning than any paint color will.
FAQ
What is the most popular kitchen layout for a family home?
The L-shape with an island is the most popular family layout, and for good reason. The L creates an efficient work triangle between the sink, stove, and fridge, while the open side of the L leaves room for an island that adds prep space, storage, and casual seating. It keeps the cook connected to the rest of the house — you can watch the kids, chat with guests, and plate dinner without feeling cut off — and it works in medium to large rooms without demanding a huge footprint. If your room is smaller, an L-shape without the island still delivers most of the same flow.
How much space do I need between counters and an island?
Plan for three and a half to four feet of clearance on every working side of an island — four feet is ideal if two people cook together or the dishwasher and oven doors swing into the walkway. You can squeeze to three feet on a seating-only side where no drawers open, but anything less will feel cramped and make daily use annoying. Measure with the doors and drawers actually open, not closed, because that is how the kitchen really works. If your room cannot give you at least three feet all around, a peninsula attached to the main run is a better choice than a freestanding island.
What is the kitchen work triangle, and does it still matter?
The work triangle connects the three busiest spots — sink, range, and refrigerator — with each leg measuring between four and nine feet. It matters because it is the distance you walk most in the kitchen, and keeping those legs short and unobstructed saves thousands of steps a week. In modern open-plan kitchens it is often stretched into a work zone or paired with a second triangle for a prep sink, but the principle is the same: keep the core tasks close together and keep traffic from crossing the cook's path. Sketch yours on paper before you commit to any layout — it is the simplest, cheapest design check you can do.
Which kitchen layout is best for a small space?
For small kitchens, the galley and the single-wall layout are the two best choices. A galley uses both sides of a narrow room efficiently and keeps everything within a few steps, while a single-wall kitchen lines everything along one wall and frees the rest of the room for a dining table that doubles as extra prep space. In both cases, take cabinetry up to the ceiling for storage, use light finishes and reflective surfaces to bounce light around, and keep the counter as clear as possible. Even a small kitchen can include one standout detail — a beautiful faucet, a handmade-look backsplash, or a patterned runner — that makes it feel designed rather than just small.
Can I change my kitchen layout without moving plumbing?
You can change quite a lot without moving plumbing. Anything that stays on the same wall — swapping cabinets, changing the sink's position along the wall, or reconfiguring storage — usually keeps the plumbing where it is. Moving the sink or dishwasher to the opposite wall or onto an island does require new water and drain lines, which is one of the pricier parts of a remodel. Gas lines and electrical for a range move more easily. A good rule of thumb: keep the wet appliances (sink, dishwasher, fridge water line) in their current neighborhood and redesign everything around them, and you will save a meaningful chunk of your budget for the finishes you actually see.
Conclusion
The right kitchen layout is the one that fits how you actually live — not the one that looks best in a magazine. Start with the shape of your room and the way you cook, sketch the triangle between your sink, stove, and fridge, and let the layout earn its keep in saved steps and easy gatherings. Then layer in the warmth: good lighting, mixed textures, and the everyday objects that make a kitchen yours. Pick the idea that matches your space, pin it, plan it, and enjoy a kitchen that finally works as hard as you do.